Services
Bathroom Tiling &Renovations
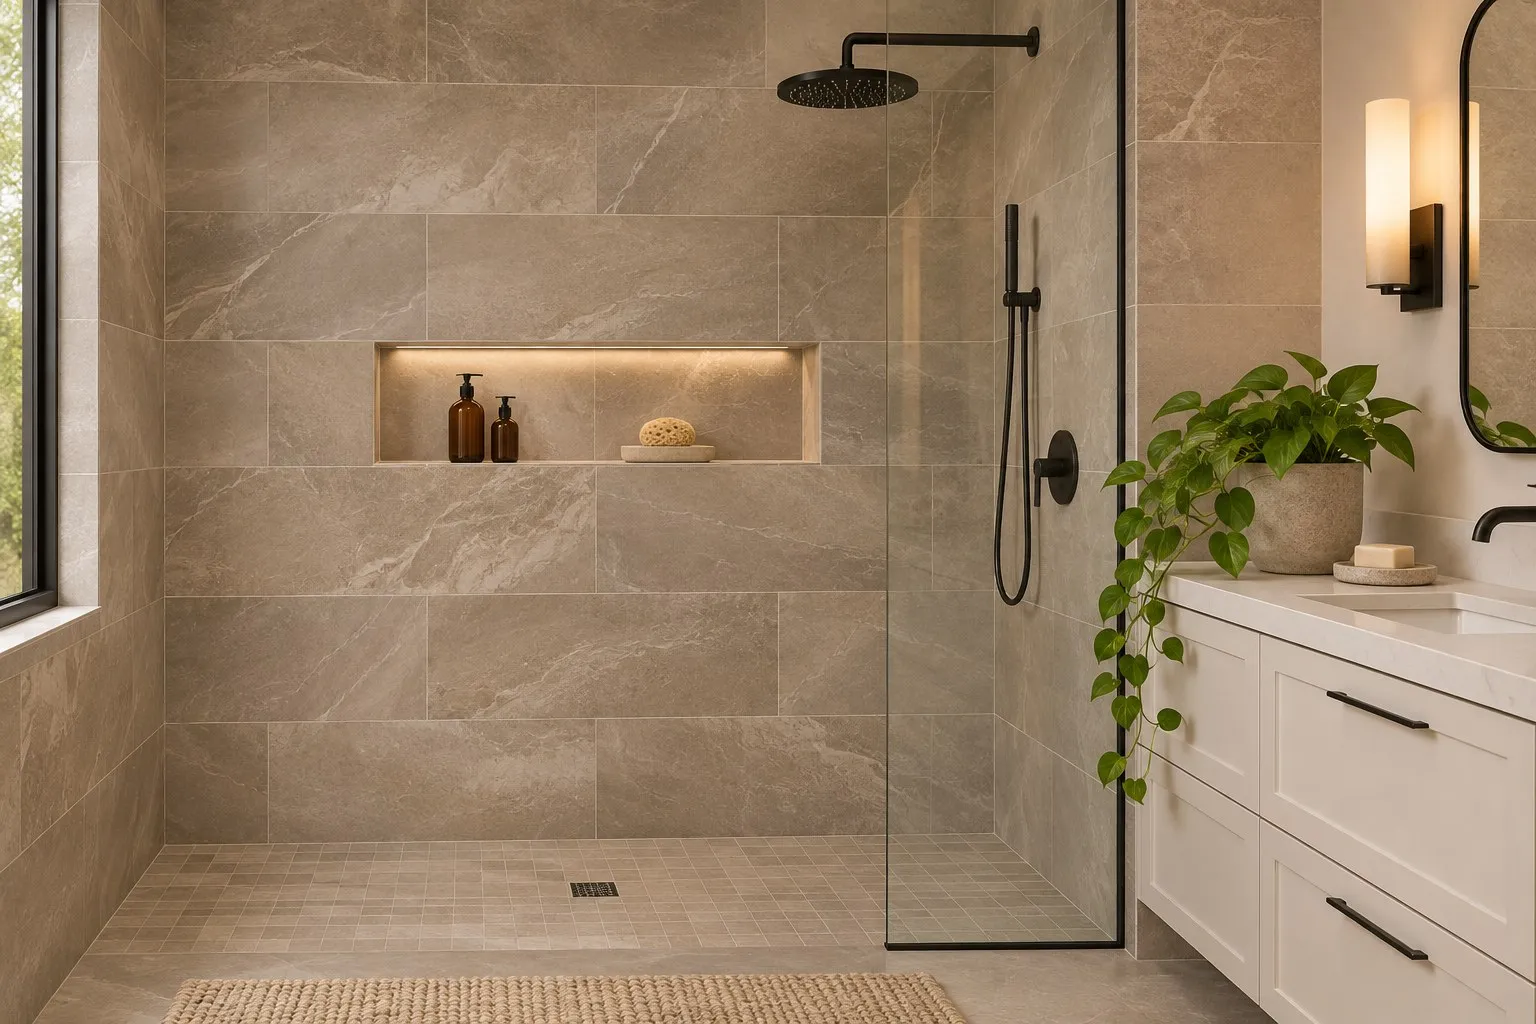
Walk-in showers, tub surrounds and bathroom floors, built on a proper waterproofing system and laid out so every line looks intentional.
What’s included
Careful preparation and detailed tile installation for bathrooms and showers.
- Waterproofing
and preparation - Tile installation
(walls and floors) - Shower walls
and niches - Floor tiling
and drainage - Clean edges
and profiles - Grout and
final finishing
Our process
A simple, step-by-step approach for a smooth installation.
- 1Assess
the space - 2Provide
a clear quote - 3Plan the
layout - 4Prepare
and install - 5Final check
and clean up
Related projects

Planning a bathroom renovation?
Call us or send a few details, and we'll explain what your space needs and what it will take.
Other services
Explore more of what we do.
The part of a shower you never see
Tile and grout do not keep water out. Water passes through grout lines and reaches whatever sits behind them, which is how a shower can look fine for years while the framing behind it quietly rots. A shower that lasts starts with the layers nobody will ever look at again.
Before any tile goes up, we check that the walls are plumb, the framing is solid and the drain sits where it should. Then we build the wet area as one sealed system: a base sloped toward the drain, a membrane carried up the walls, and sealed corners, niches and pipe openings. Where the design allows it, we flood test the base for a day before tiling, so that a leak shows up while it is still cheap to fix.
A layout planned around your room
A bathroom is small enough that every cut is on show. We draw the layout first, centring tile on the niche and the main wall, carrying grout lines from wall to floor where we can, and placing narrow cuts where the eye won’t land. Niches and benches are framed to suit the tile, rather than the other way around.
Your plumber sets the valve and drain, and we agree those positions before the walls close, so the shower trim lands cleanly on a full tile instead of a patched corner.
Tile that suits a wet room
Porcelain is the easiest choice for most showers because it absorbs almost no water. Marble and other natural stone look wonderful but need sealing and gentle cleaners, and we will tell you plainly if a stone is a poor match for how your family uses the room. For shower floors, smaller tile gives more grip and follows the slope to the drain.
Working in Mississauga homes and condos
Many older Mississauga bathrooms still have their original tub surrounds, often tiled over drywall with no real waterproofing. Replacing one is a good chance to turn a dated tub into a walk-in shower. In condos we also work within elevator bookings, permitted work hours and the building’s renovation rules, so let us know your property manager’s requirements early.
Common questions
Can you tile over my old shower walls?
Usually not. Old tile or drywall hides the condition of what is behind it, and a new membrane needs a sound, clean base. We normally strip a shower back to the studs so that we can see any water damage and build it properly.
How long does a walk-in shower take?
Plan on about a week on site for a typical shower. Waterproofing, tile and grout each need time to cure, so some days are short visits. We confirm the schedule once we have seen the space and your tile.
Is large tile a good choice for a shower floor?
It can be, with the right drain. A linear drain lets the floor slope in one direction, which suits large tile. A centre drain slopes four ways, so a smaller tile or mosaic follows that shape better and gives more grip underfoot.
Do I need to buy the tile before you visit?
No, and it often helps to wait. Once we have measured, we can tell you how much to order, including extra for cuts, and flag any tile that would be a poor fit for a wet area.